The purpose of the Academic Progression Monitoring web app is to provide a web-based platform to support users in monitoring student performance and progression.
Follow these steps to set up and run the application.
- Node.js: Install Node.js from nodejs.org.
- MAMP: Install MAMP from mamp.info.
-
Download the Project Files:
- Extract the project files from the provided ZIP file.
-
Install Dependencies:
- Open a terminal in the project folder (where
package.jsonis located). - Run the following command to install all required dependencies:
npm install
- Open a terminal in the project folder (where
-
Set Up Environment Variables:
- The
.envfile is already provided in the project. It contains all the necessary environment variables. - Important: If you want to run the application on a different port, update the
DB_PORTin the.envfile to match your desired port.
- The
-
Set Up the Database:
- Start MAMP and ensure the MySQL server is running.
- Open your browser and go to the following URL to access PHPMyAdmin: PHPMyAdmin URL
- Use the "Import" feature in PHPMyAdmin to upload the provided SQL file.
-
Run Security Audit (Optional):
- If there are any vulnerabilities, you can try fixing them with:
npm audit fix
- If there are any vulnerabilities, you can try fixing them with:
-
Start the Application:
- Run the following command to start the application:
npm start
- The application will run on the port specified in the
.envfile (default is3000).
- Run the following command to start the application:
-
Access the Application:
- Open your browser and go to:
http://localhost:3000(or the port you configured in the.envfile).
- Open your browser and go to:
-
Development Mode:
- If you want the application to restart automatically when you make changes, use:
npm run dev
- If you want the application to restart automatically when you make changes, use:
- Username:
admin - Password:
admin
- Username: The part of the email address before
@. For example:- If the email is
ryan3733333@gmail.com, the username isryan3733333.
- If the email is
- Password: The same as the username. For example:
- If the username is
Ryan3733333, the password isryan3733333(no CAPS).
- If the username is
Note: For simplicity, the username and password are kept the same for student as well as admin accounts.
-
Install REST Client Extension:
- Install the REST Client extension for Visual Studio Code.
-
Use the
.restFile:- A
.restfile is included in the project's api folder to test the API endpoints. - Open the
.restfile in Visual Studio Code. - Use the REST Client extension to send requests to the API.
- A
-
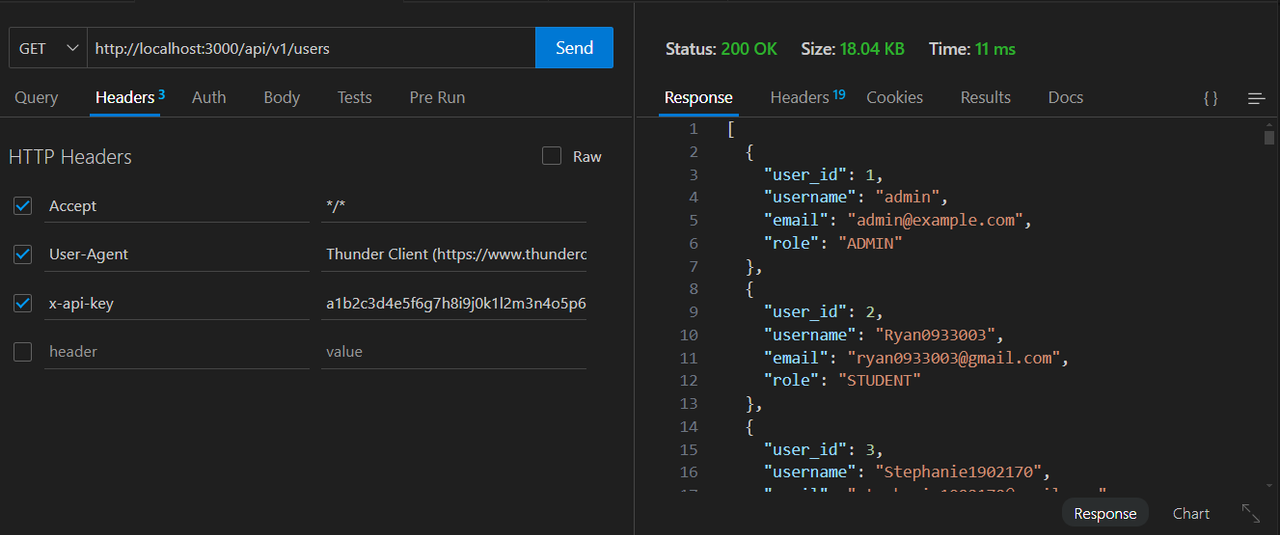
Using Other Tools (Postman, Thunder Client, etc.):
- Add the following header to your requests:
x-api-key: <your-api-key> - Replace
<your-api-key>with the value ofAPI_KEYfrom the.envfile.
- Add the following header to your requests:
That's it! You should now have the application up and running.
Made with ❤️ by [1337XCode](https://github.com/1337Xcode)