Note: The following section requires you to create a repository on your own account. You will need to ensure you have access to the Actions page.
Next let’s start a new project in your personal repos (not the github-craftwork org) using the github-craftwork/ci-template. The contents of the project include have been taken from the Plurasight Intro that finds out what the current week number it is today.
Create a CI pull requests
To develop a GitHub Workflow process that employs Actions to automate the Continuous
Integration process, you can begin by adding starter workflow file to the .github directory. On the initial view of your repository, find and navigate to the Actions tab.
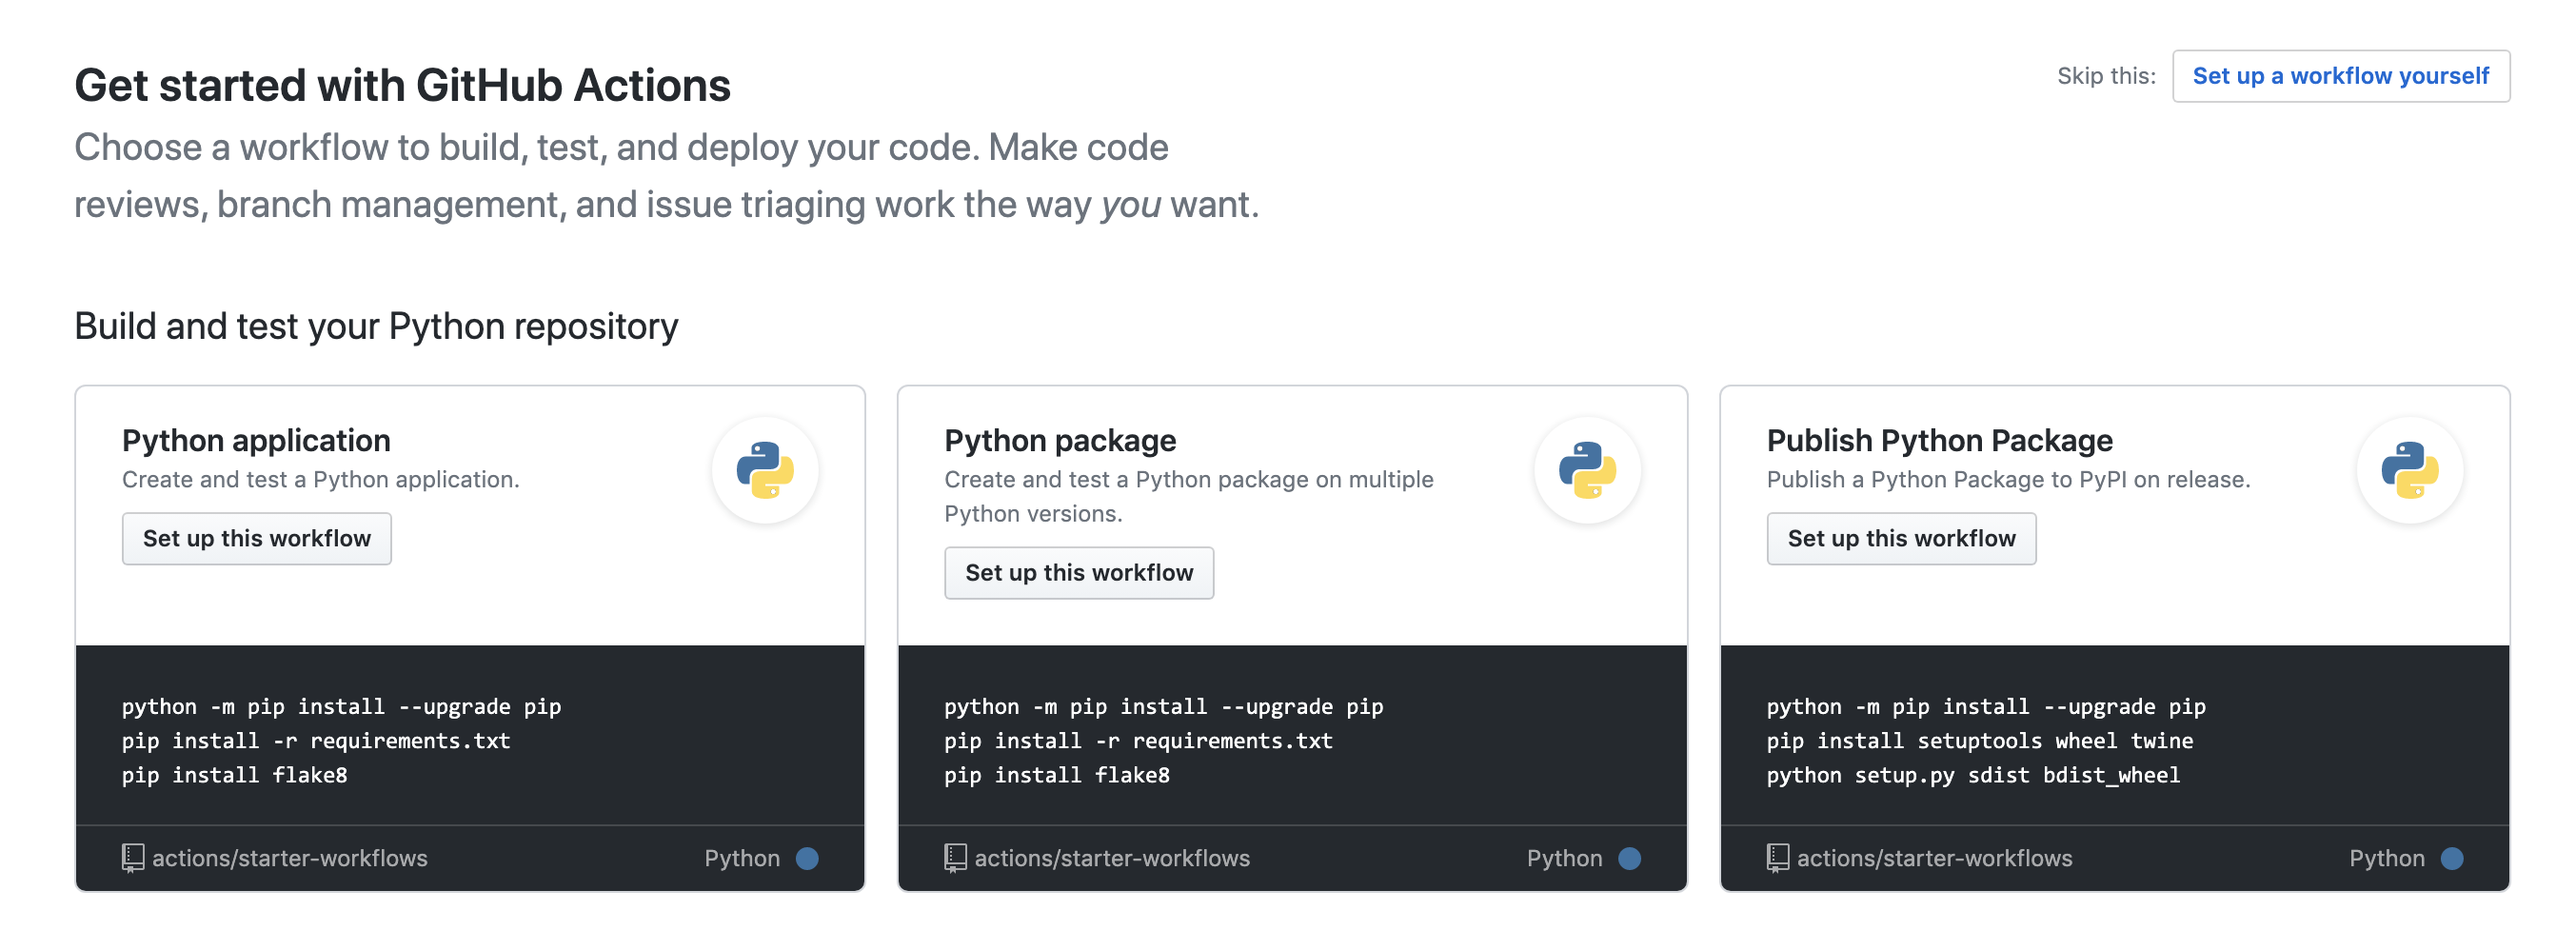
On the Actions page you should see 3 Python workflow options. Find the Python Application workflow option and click the Set up this workflow button.
Note: The actions/starter-workflows repository contains many sample workflow files.
The Actions Workflow wizard will install the sample workflow selected in your repo within the .github folder. You may edit the name of the file and its contents on the screen provided.
Commit the pythonpackage.yml file to the master branch to complete this process of creating our first CI workflow.
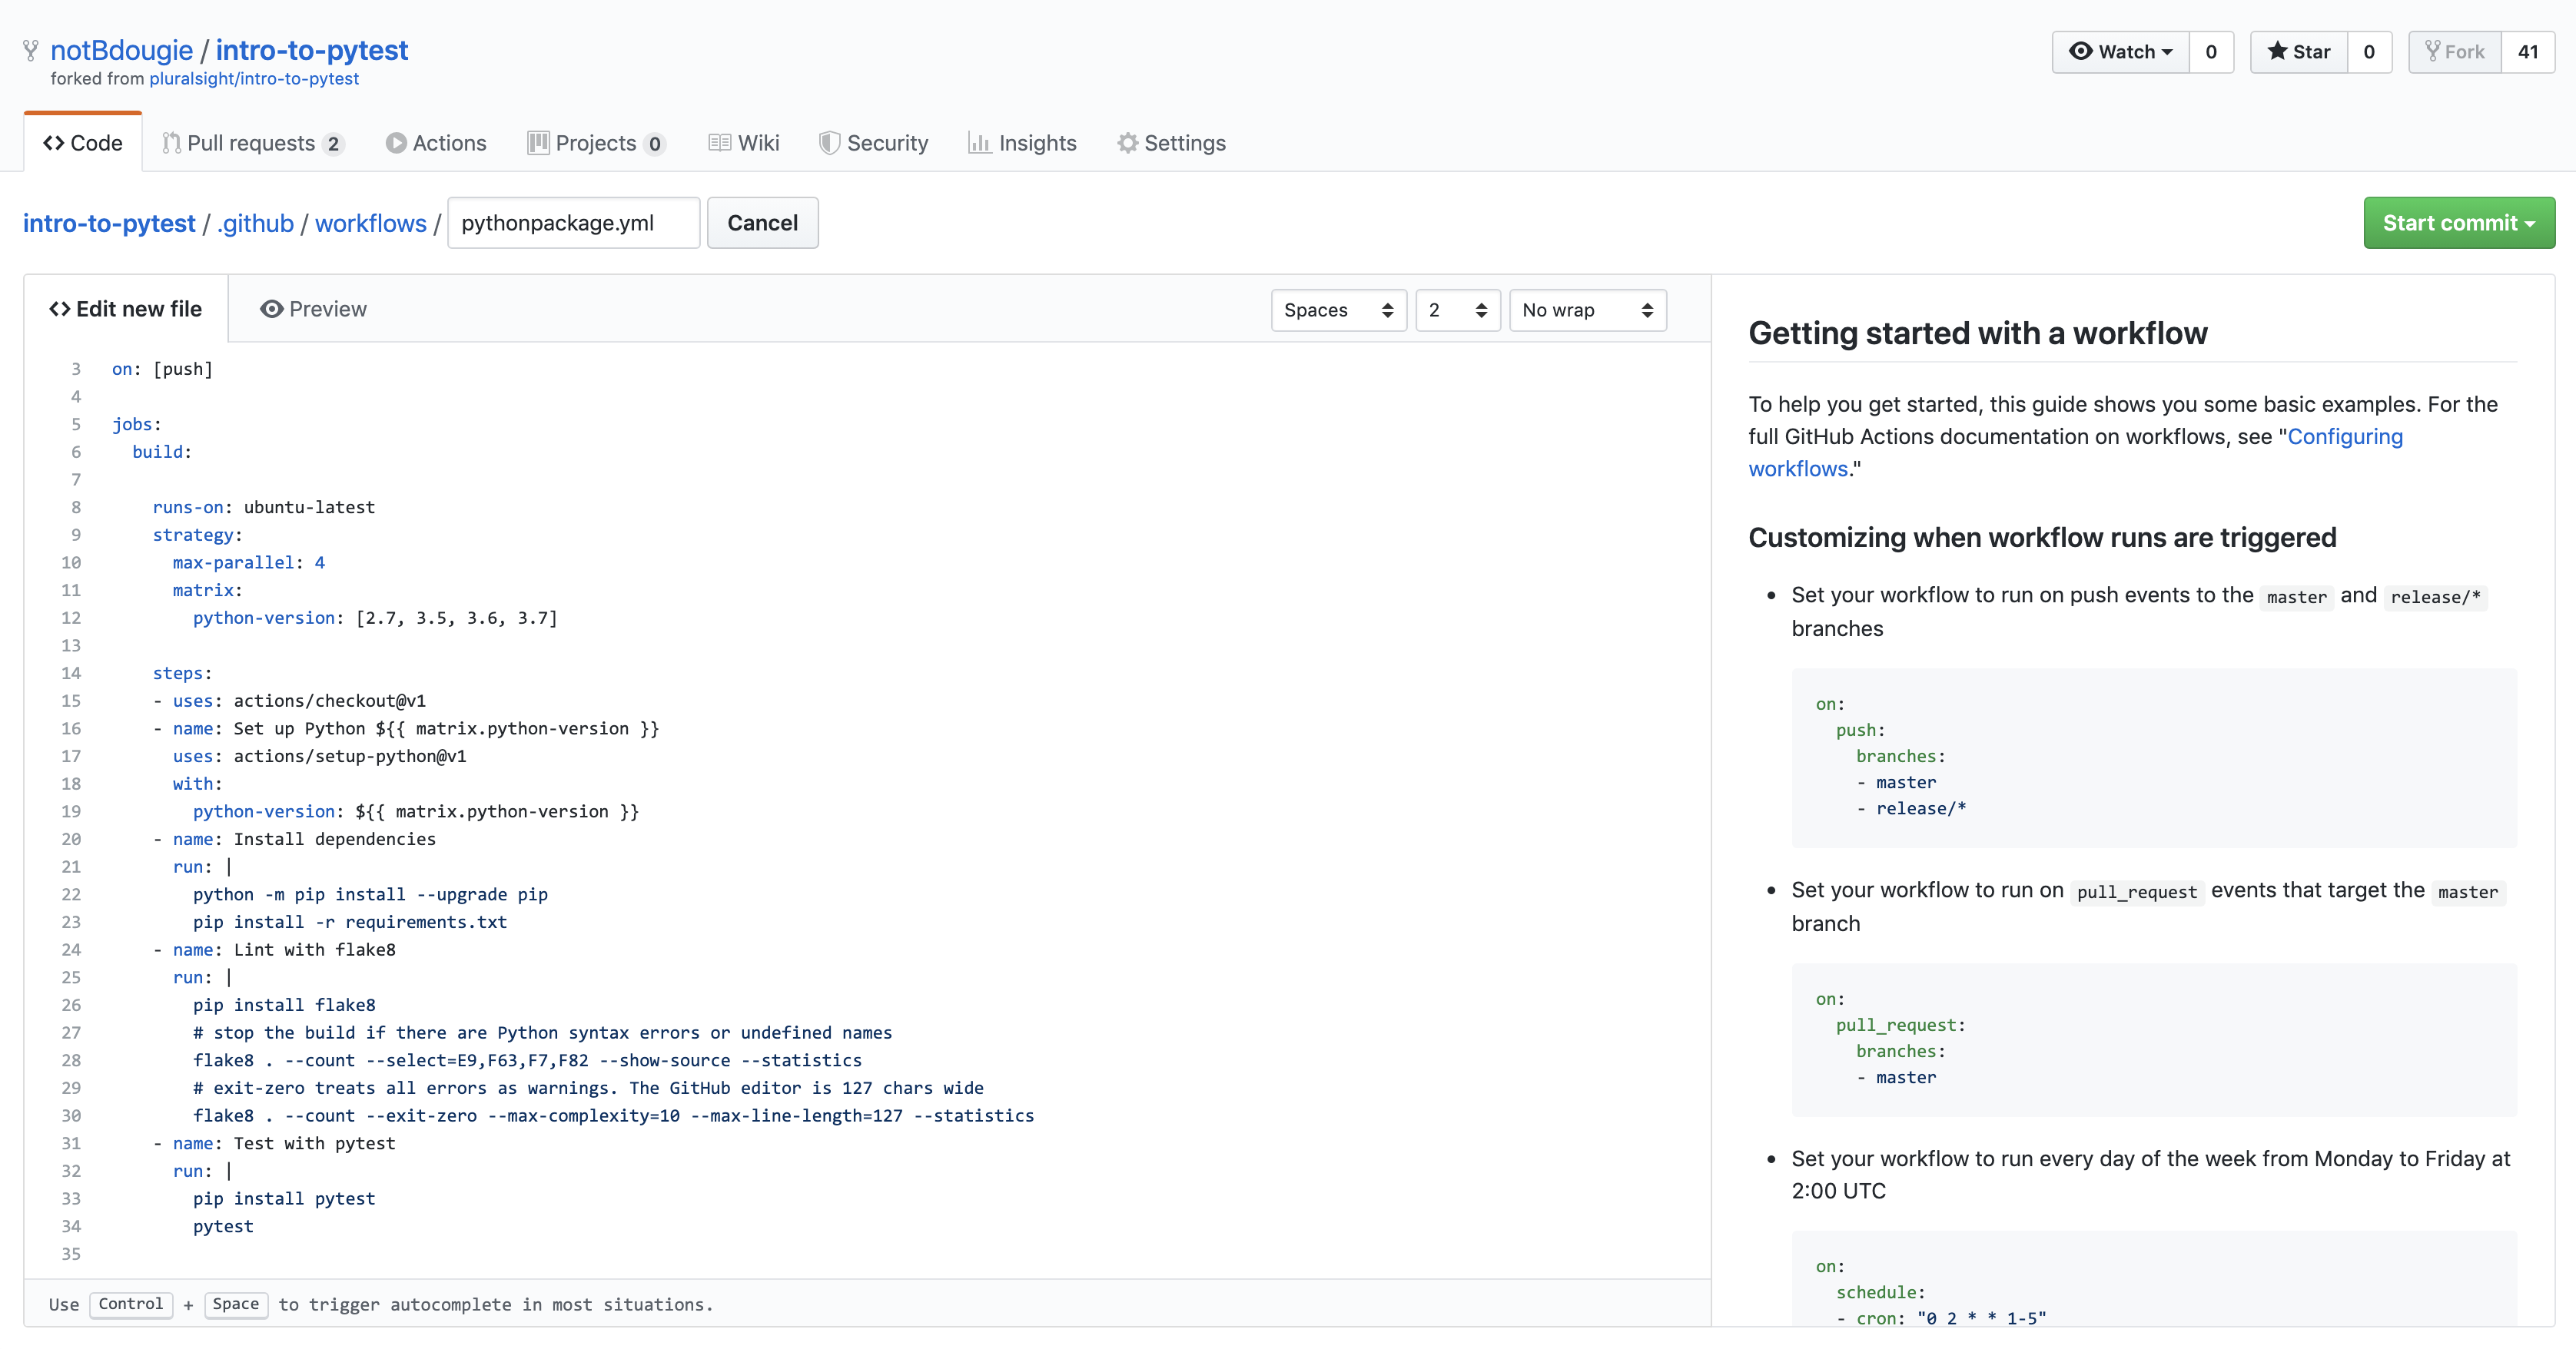
The .github/workflows/ folder will include the contents from below:
name: Python application
on: [push]

jobs:
  build:

    runs-on: ubuntu-latest

    steps:
    - uses: actions/checkout@v1
    - name: Set up Python 3.7
      uses: actions/setup-python@v1
      with:
        python-version: 3.7
    - name: Install dependencies
      run: |
        python -m pip install --upgrade pip
        pip install -r requirements.txt
    - name: Lint with flake8
      run: |
        pip install flake8
        # stop the build if there are Python syntax errors or undefined names
        flake8 . --count --select=E9,F63,F7,F82 --show-source --statistics
        # exit-zero treats all errors as warnings. The GitHub editor is 127 chars wide
        flake8 . --count --exit-zero --max-complexity=10 --max-line-length=127 --statistics
    - name: Test with pytest
      run: |
        pip install pytest
        pytest
Take note that our workflow is running a strategy with 3 versions of python. This will be important to know later.
Because your new Actions CI is running on everything push, you should already have a workflow running.

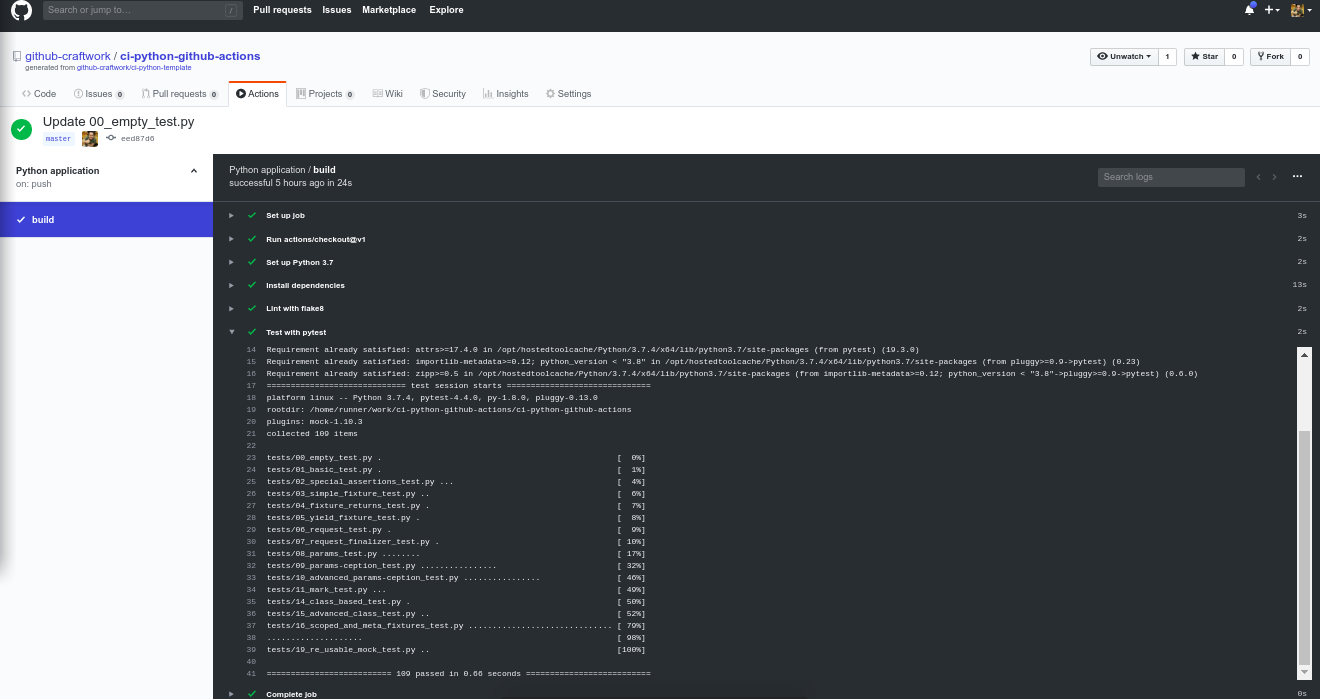
Note that we will need to write a test to run as part of our CI, Find the 00_empty_test.py file with the contents from below:
# tests/00_empty_test.py
def test_empty():
    """
    PyTest tests are callables whose names start with "test"
    (by default)

    It looks for them in modules whose name contains "test"
    (by default)
    """
    pass
The result of that last push to master should look like this image:
Add the above test using the UI, but instead of committing directly to the master branch, open a pull request to trigger you CI workflow again.
We have not created a pull request until now, so please take note that you can see all the workflows triggering through a GitHub Check Suite. All Action Workflows are being powered by this API feature. And since we are on the subject the GitHub Actions bot is built on the GitHub App framework that has already popularized by a number of our Marketplace and Ecosystem partners.
Once all test have passed, merge the pull request and let us move on to complete the next step.
CI is often coupled with the idea of Continuous Delivery (CD). The next two sections will cover automating your projects release management.
Add release workflow
You can use the Release Drafter GitHub Action in a GitHub Actions Workflow by configuring a YAML-based workflow file, e.g. .github/workflows/release-management.yml, with the following:
name: Release Management

on:
  push:
    # branches to consider in the event; optional, defaults to all
    branches:
      - master

jobs:
  update_draft_release:
    runs-on: ubuntu-latest
    steps:
      # Drafts your next Release notes as Pull Requests are merged into "master"
      - uses: toolmantim/release-drafter@v5.2.0
        env:
          GITHUB_TOKEN: ${{ secrets.GITHUB_TOKEN }}
Once you’ve added Release Drafter to your repository, it must be enabled by adding a .github/release-drafter.yml configuration file to each repository.
Add release template
Create the following .github/release-drafter.yml file in a repository and commit to your master branch:
template: |
  ## What’s Changed

  $CHANGES
Make a change Navigate to any file in the repo and replace the contents with your something else.
As pull requests are merged, a draft release is kept up-to-date listing the changes, ready to publish when you’re ready:

To test this workflow, edit your draft using the existing tag created for it. Once completed, move on to the next step in the project to complete this step.

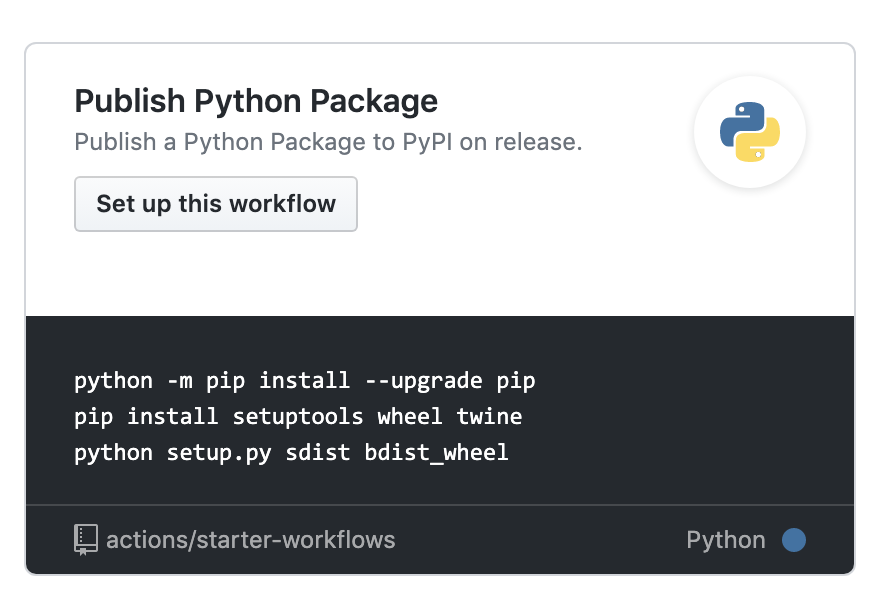
Publish Python Package You can publish you Python Package by using the starter templating in the Actions wizard.